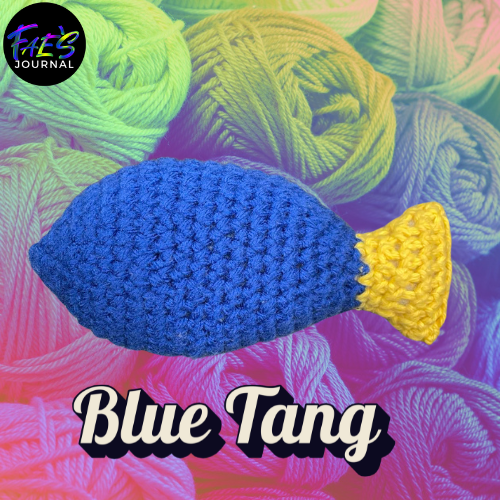
Crochet Goldfish Pattern
This crochet goldfish pattern is easy and can be made in a wide variety of colors to personalize your project. Goldfish are silly-looking fish, but I love them. They are also challenging fish to have in an aquarium. Fun fishkeeping fact: they are not beginner fish to keep at all! But, you’re in luck if you want to CROCHET a goldfish!
This CROCHET Goldfish IS a Beginner Project!
Unlike real goldfish that are lots harder to keep than one imagines, seeing as they are sold for less than $1 at Petsmart, this crochet goldfish pattern is a total breeze to follow and the project itself can be completed in a few hours from start to finish. There’s also no sewing pieces together, you start at the nose and work straight through to the tail all in one go.
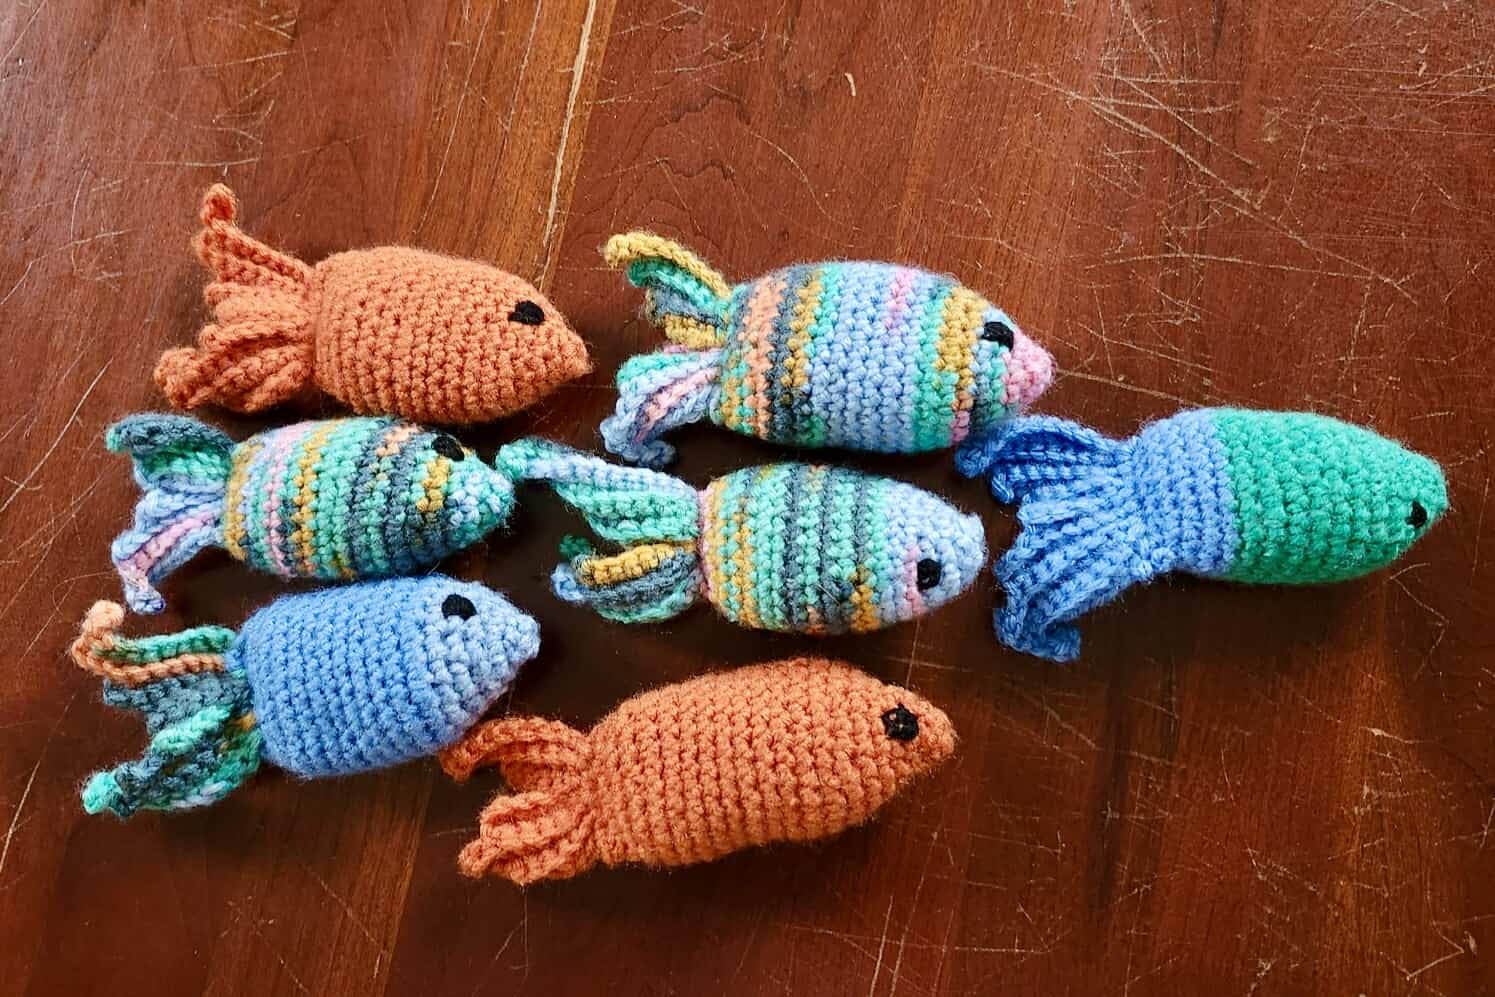
So instead of stressing about why goldfish are not easy fish to keep in aquariums, why not crochet yourself a school of goldfish today!?
Materials Needed:
Worsted weight yarn
3mm crochet hook or the size hook needed to get the stitch density required. Remember, with amigurumi you will in general size down your hook. This ensures that your stitches are tight, eliminating any holes so you won’t see the stuffing and it won’t come out.
Polyfill
Tapestry needle for weaving ends and stitching eyes
Abbreviations
Mr: Magic Ring. For detailed instructions on how to master the magic ring quickly and confidently, check out my magic ring tutorial, complete with step by step pictures on how to make a magic ring in crochet. You can also watch this Magic Ring YouTube tutorial.
Sc: single crochet
Inc: Increase by sc twice into the next stitch
InvDec: Invisible decrease: insert the hook into the front loop of the next two stitches. Pull yarn through both loops and complete a single crochet.
Ch: Chain
Sl st: Slip stitch
Pm: Place marker, replacing it each time you loop back around. This helps you to count rounds and gives you a starting point to count stitches for each round.
Scblo: single crochet into back loop only
Crochet Goldfish Pattern
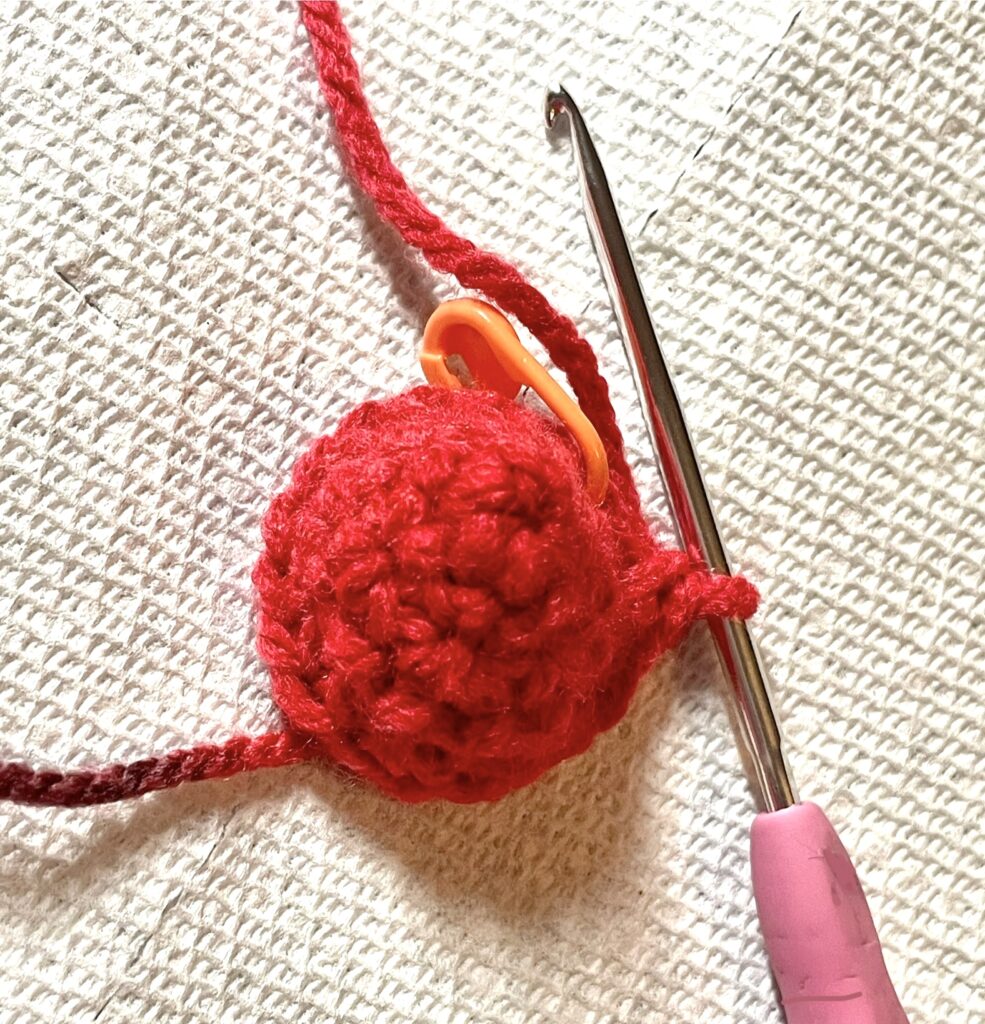
To start, we make the nose of the goldfish. First, make a magic ring. Next, single crochet 6 into the magic ring. Then, join to the first sc with a slip stitch. If you are hazy on magic rings, or if they always give you trouble, click here for a tutorial on easiest way to make a magic ring in crochet.
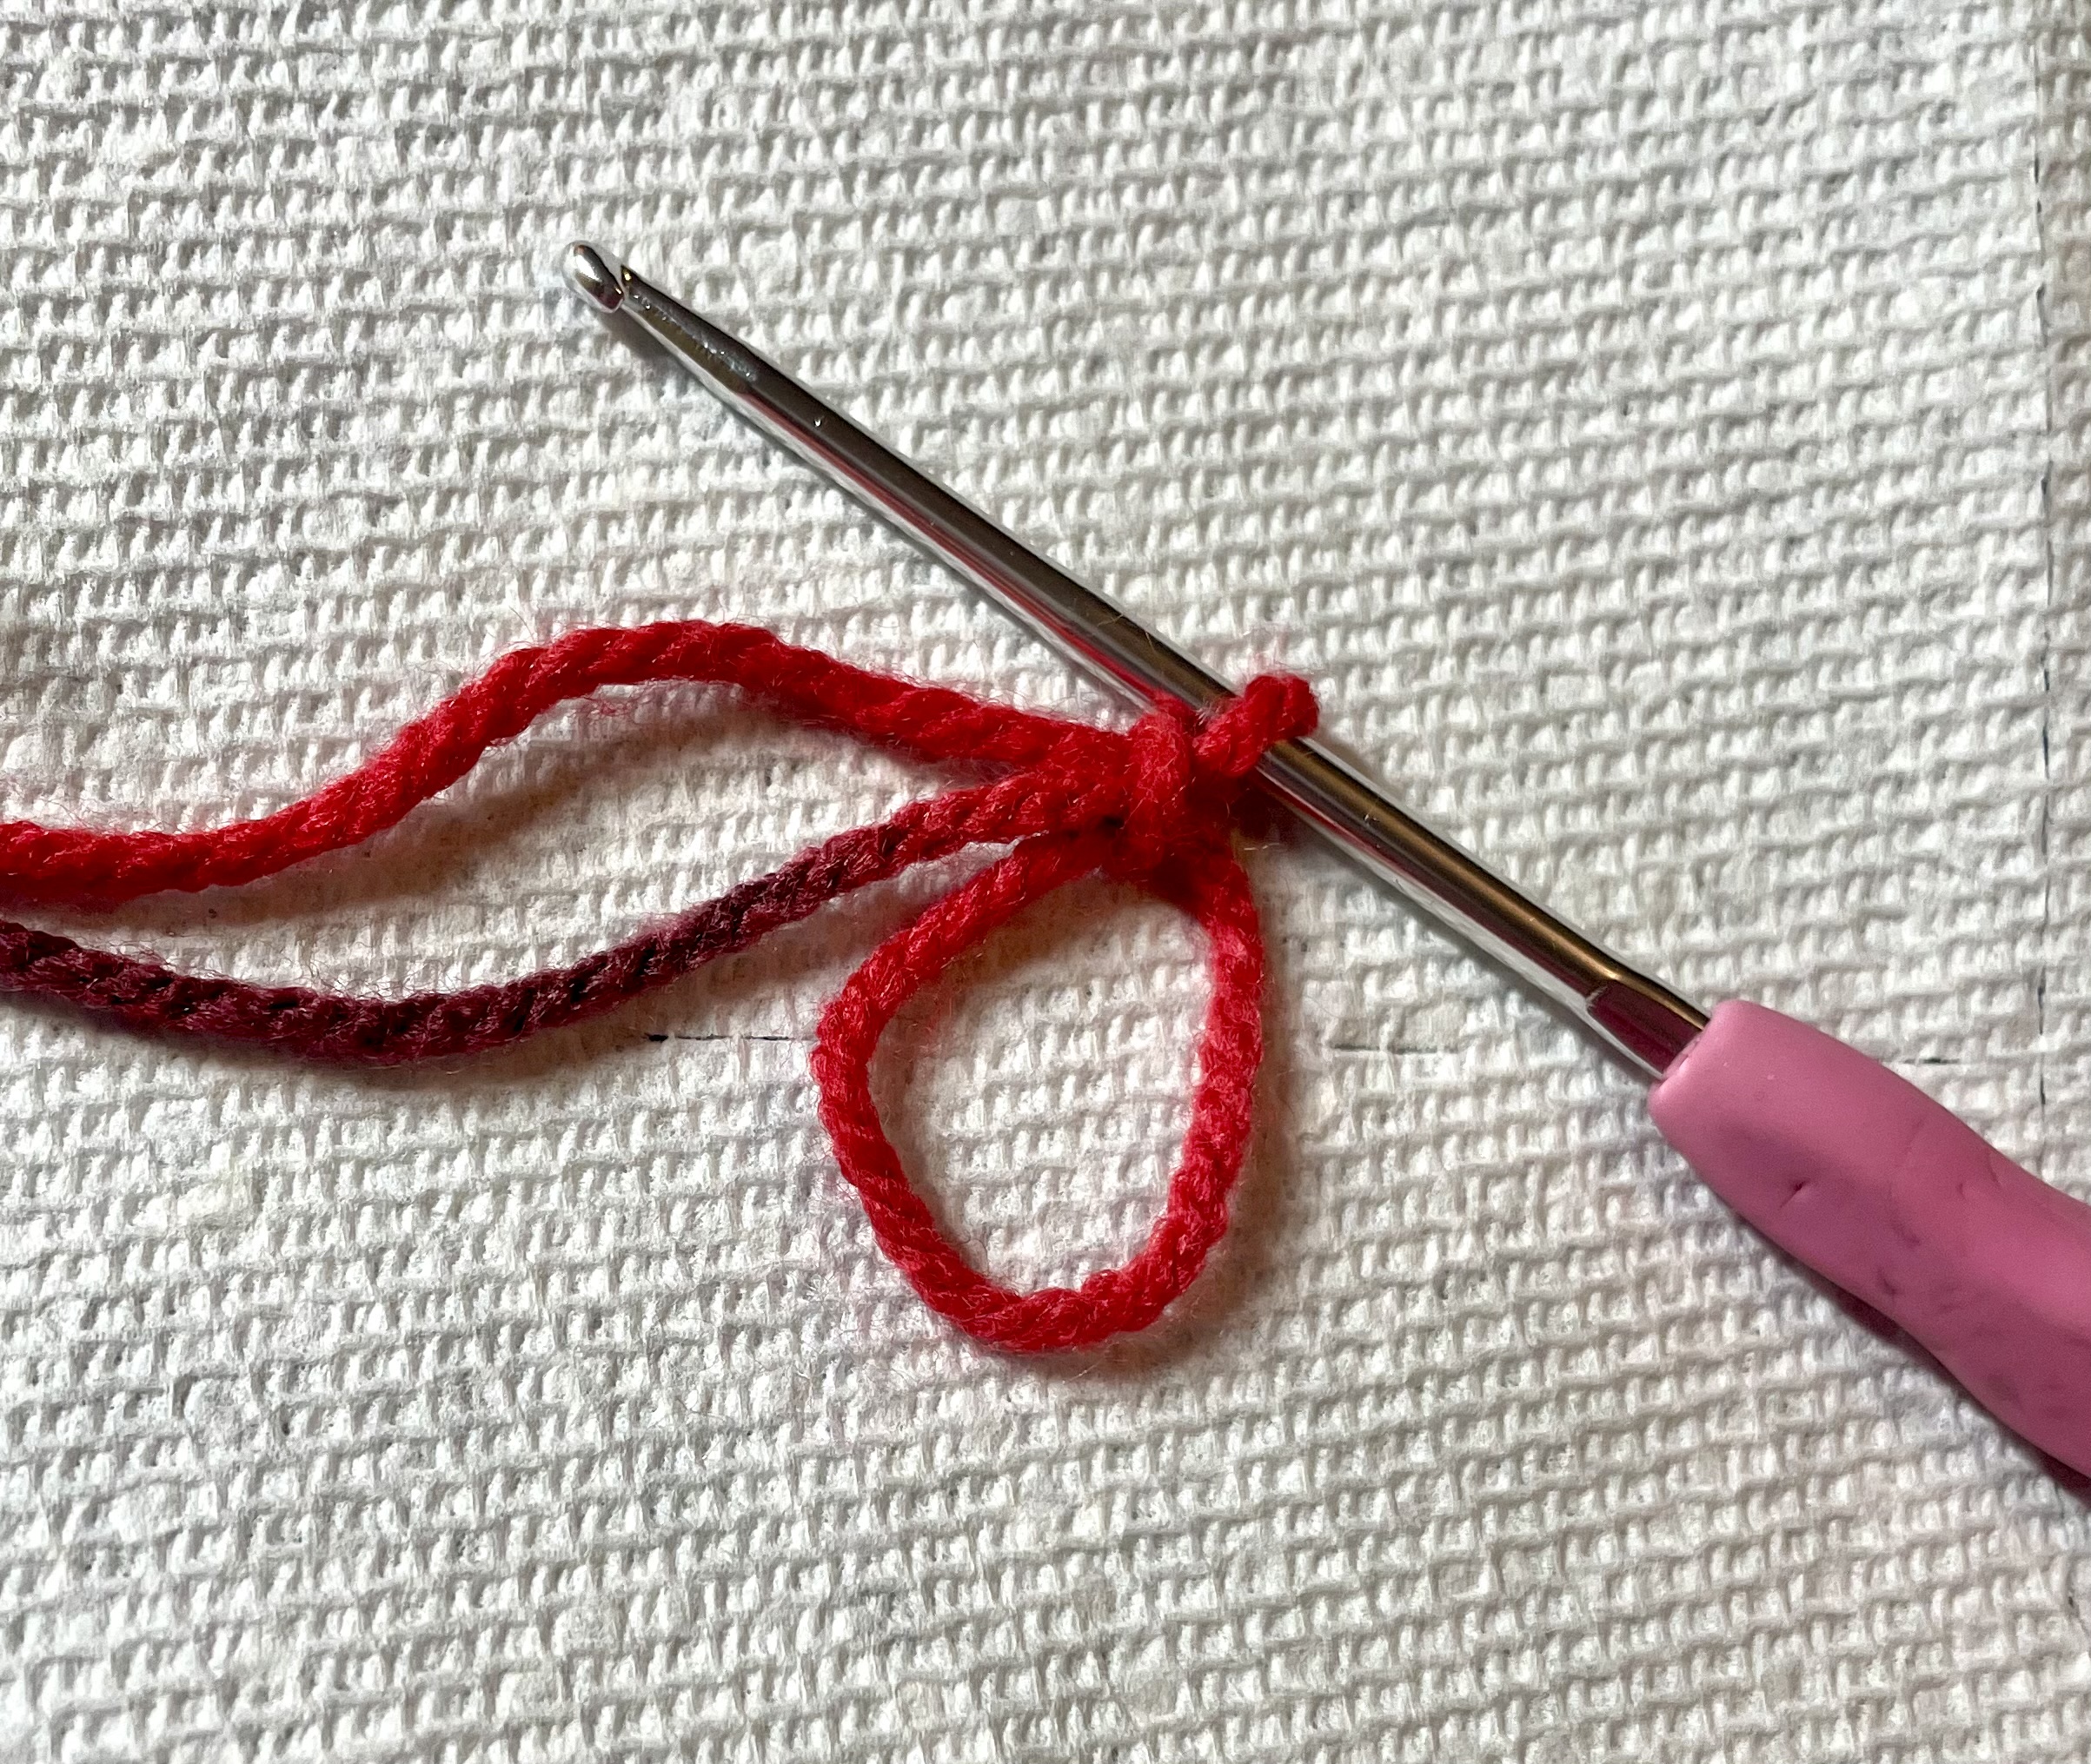 Make a magic ring.
 Sc 6 into magic ring.
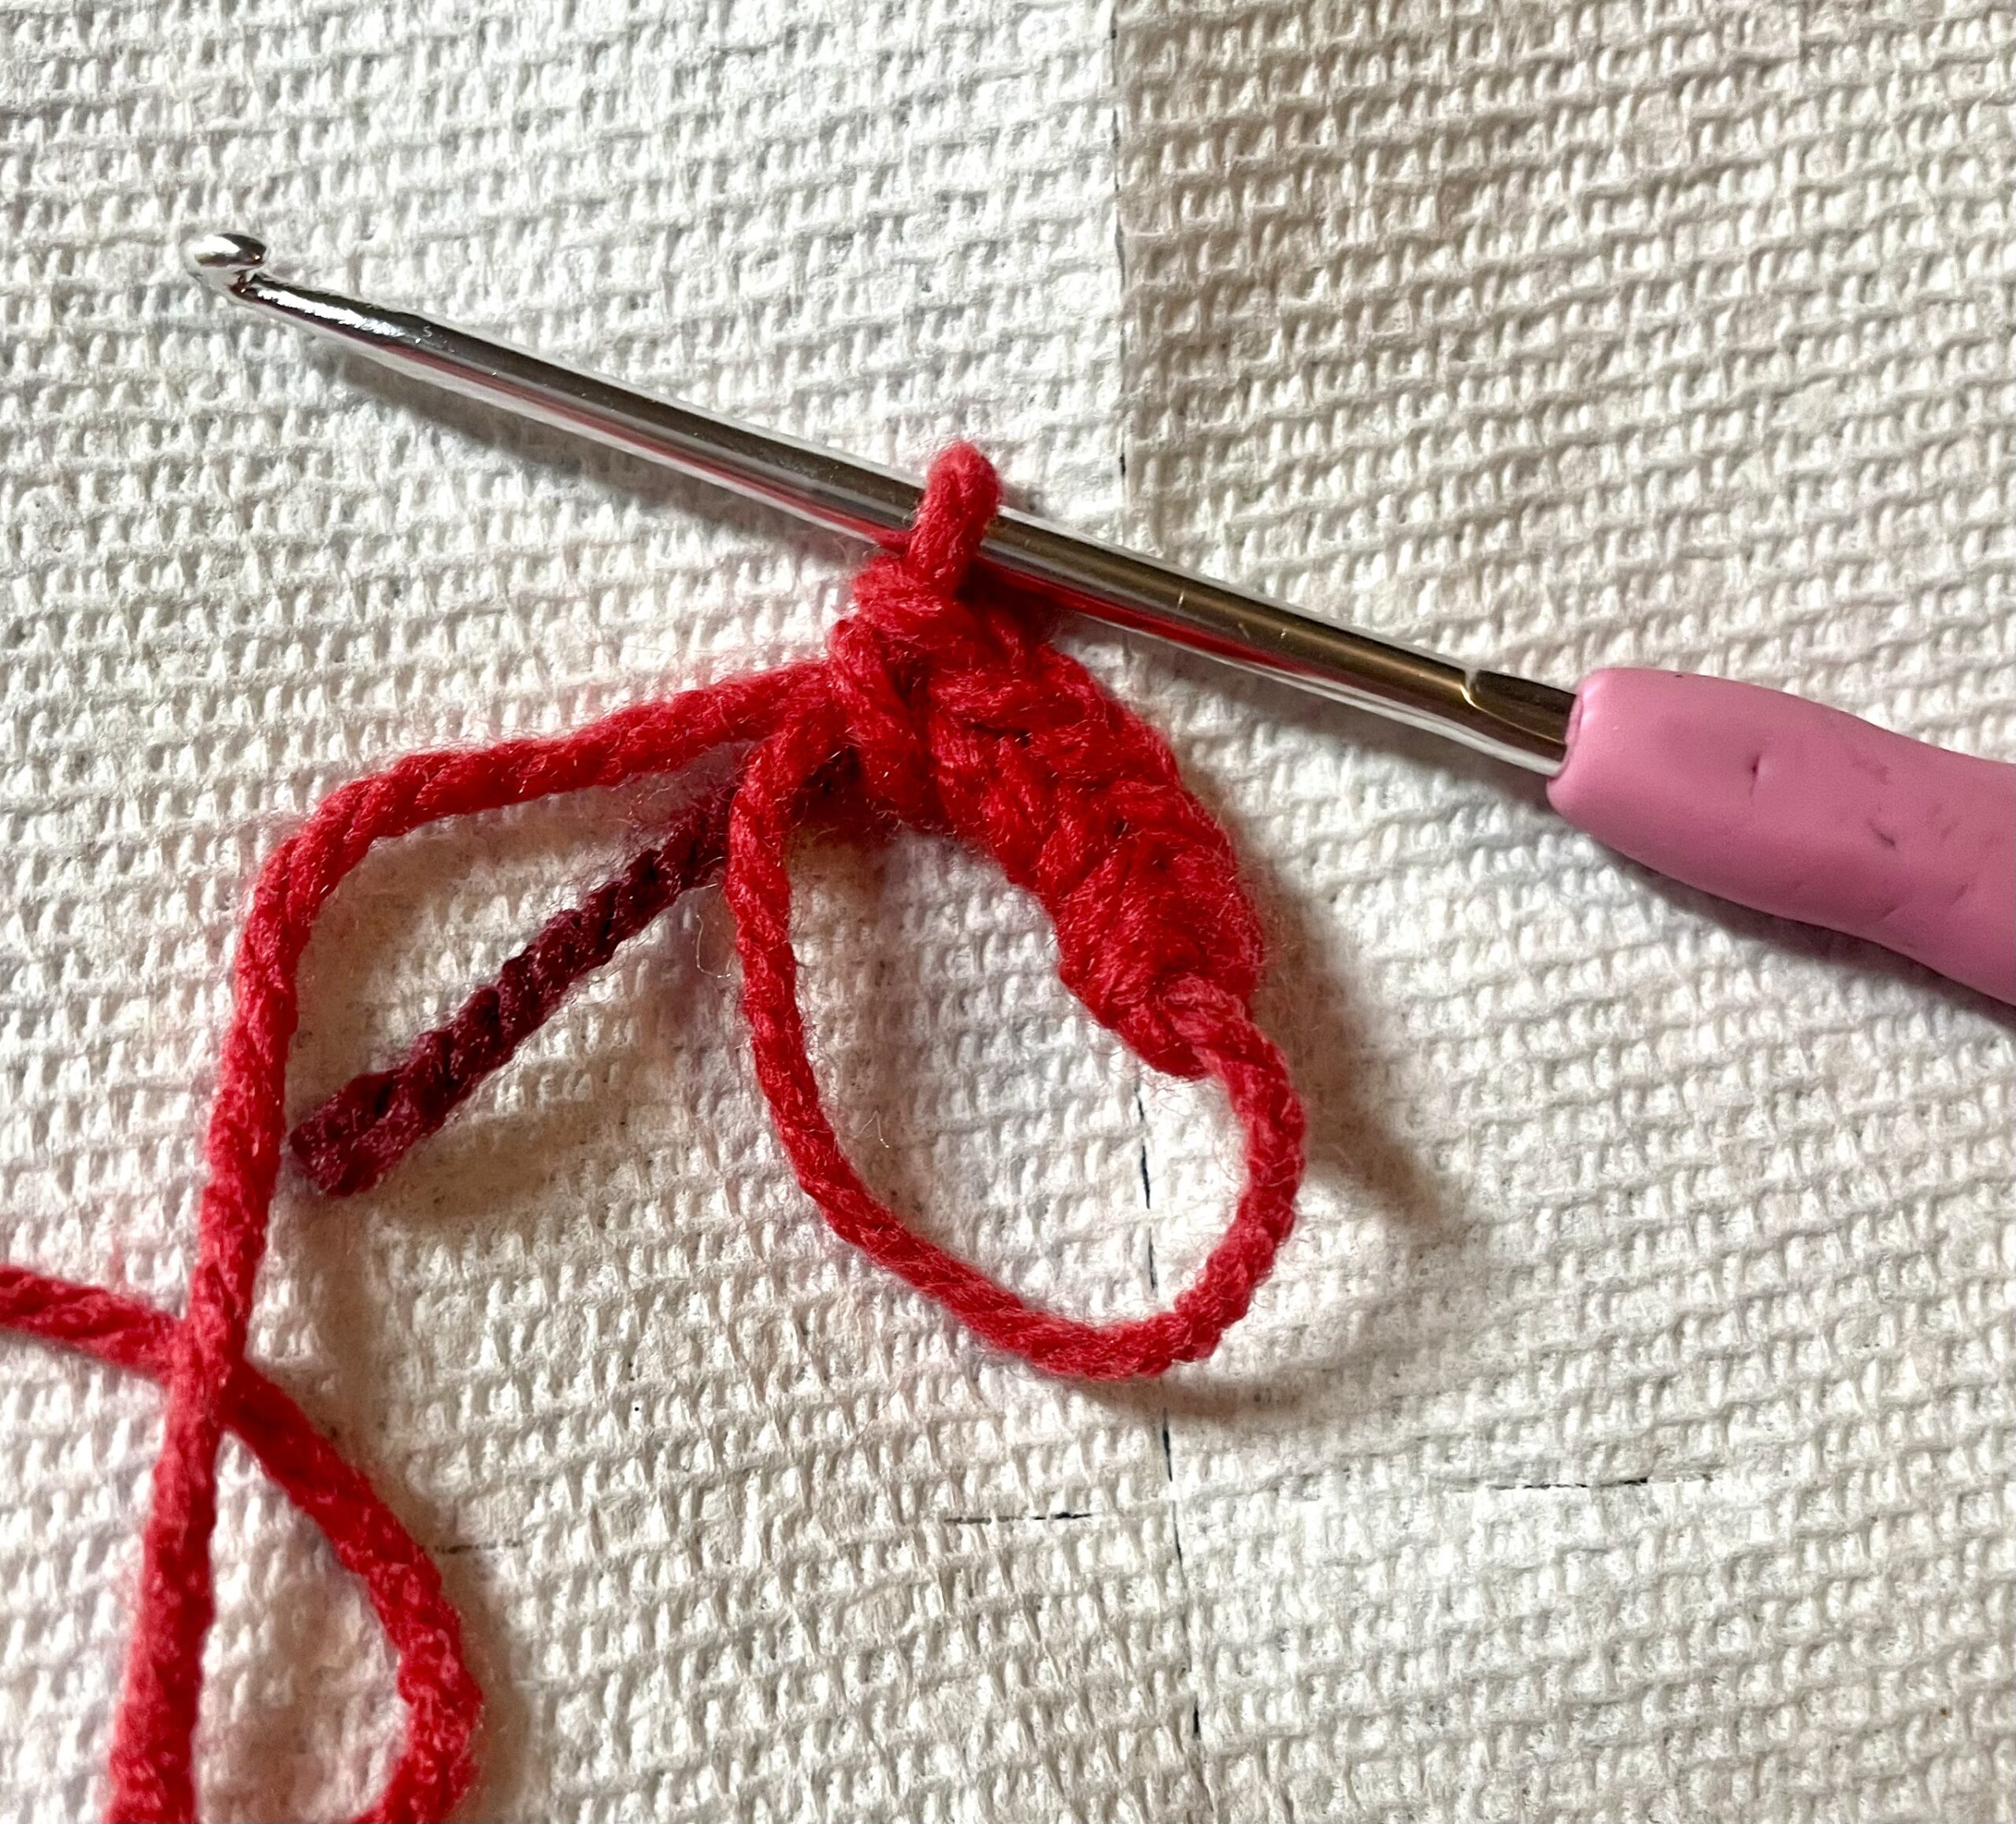
 Join to the first stitch with a slip stitch. Place marker.
Round 1: sc 6 (6 stitches)
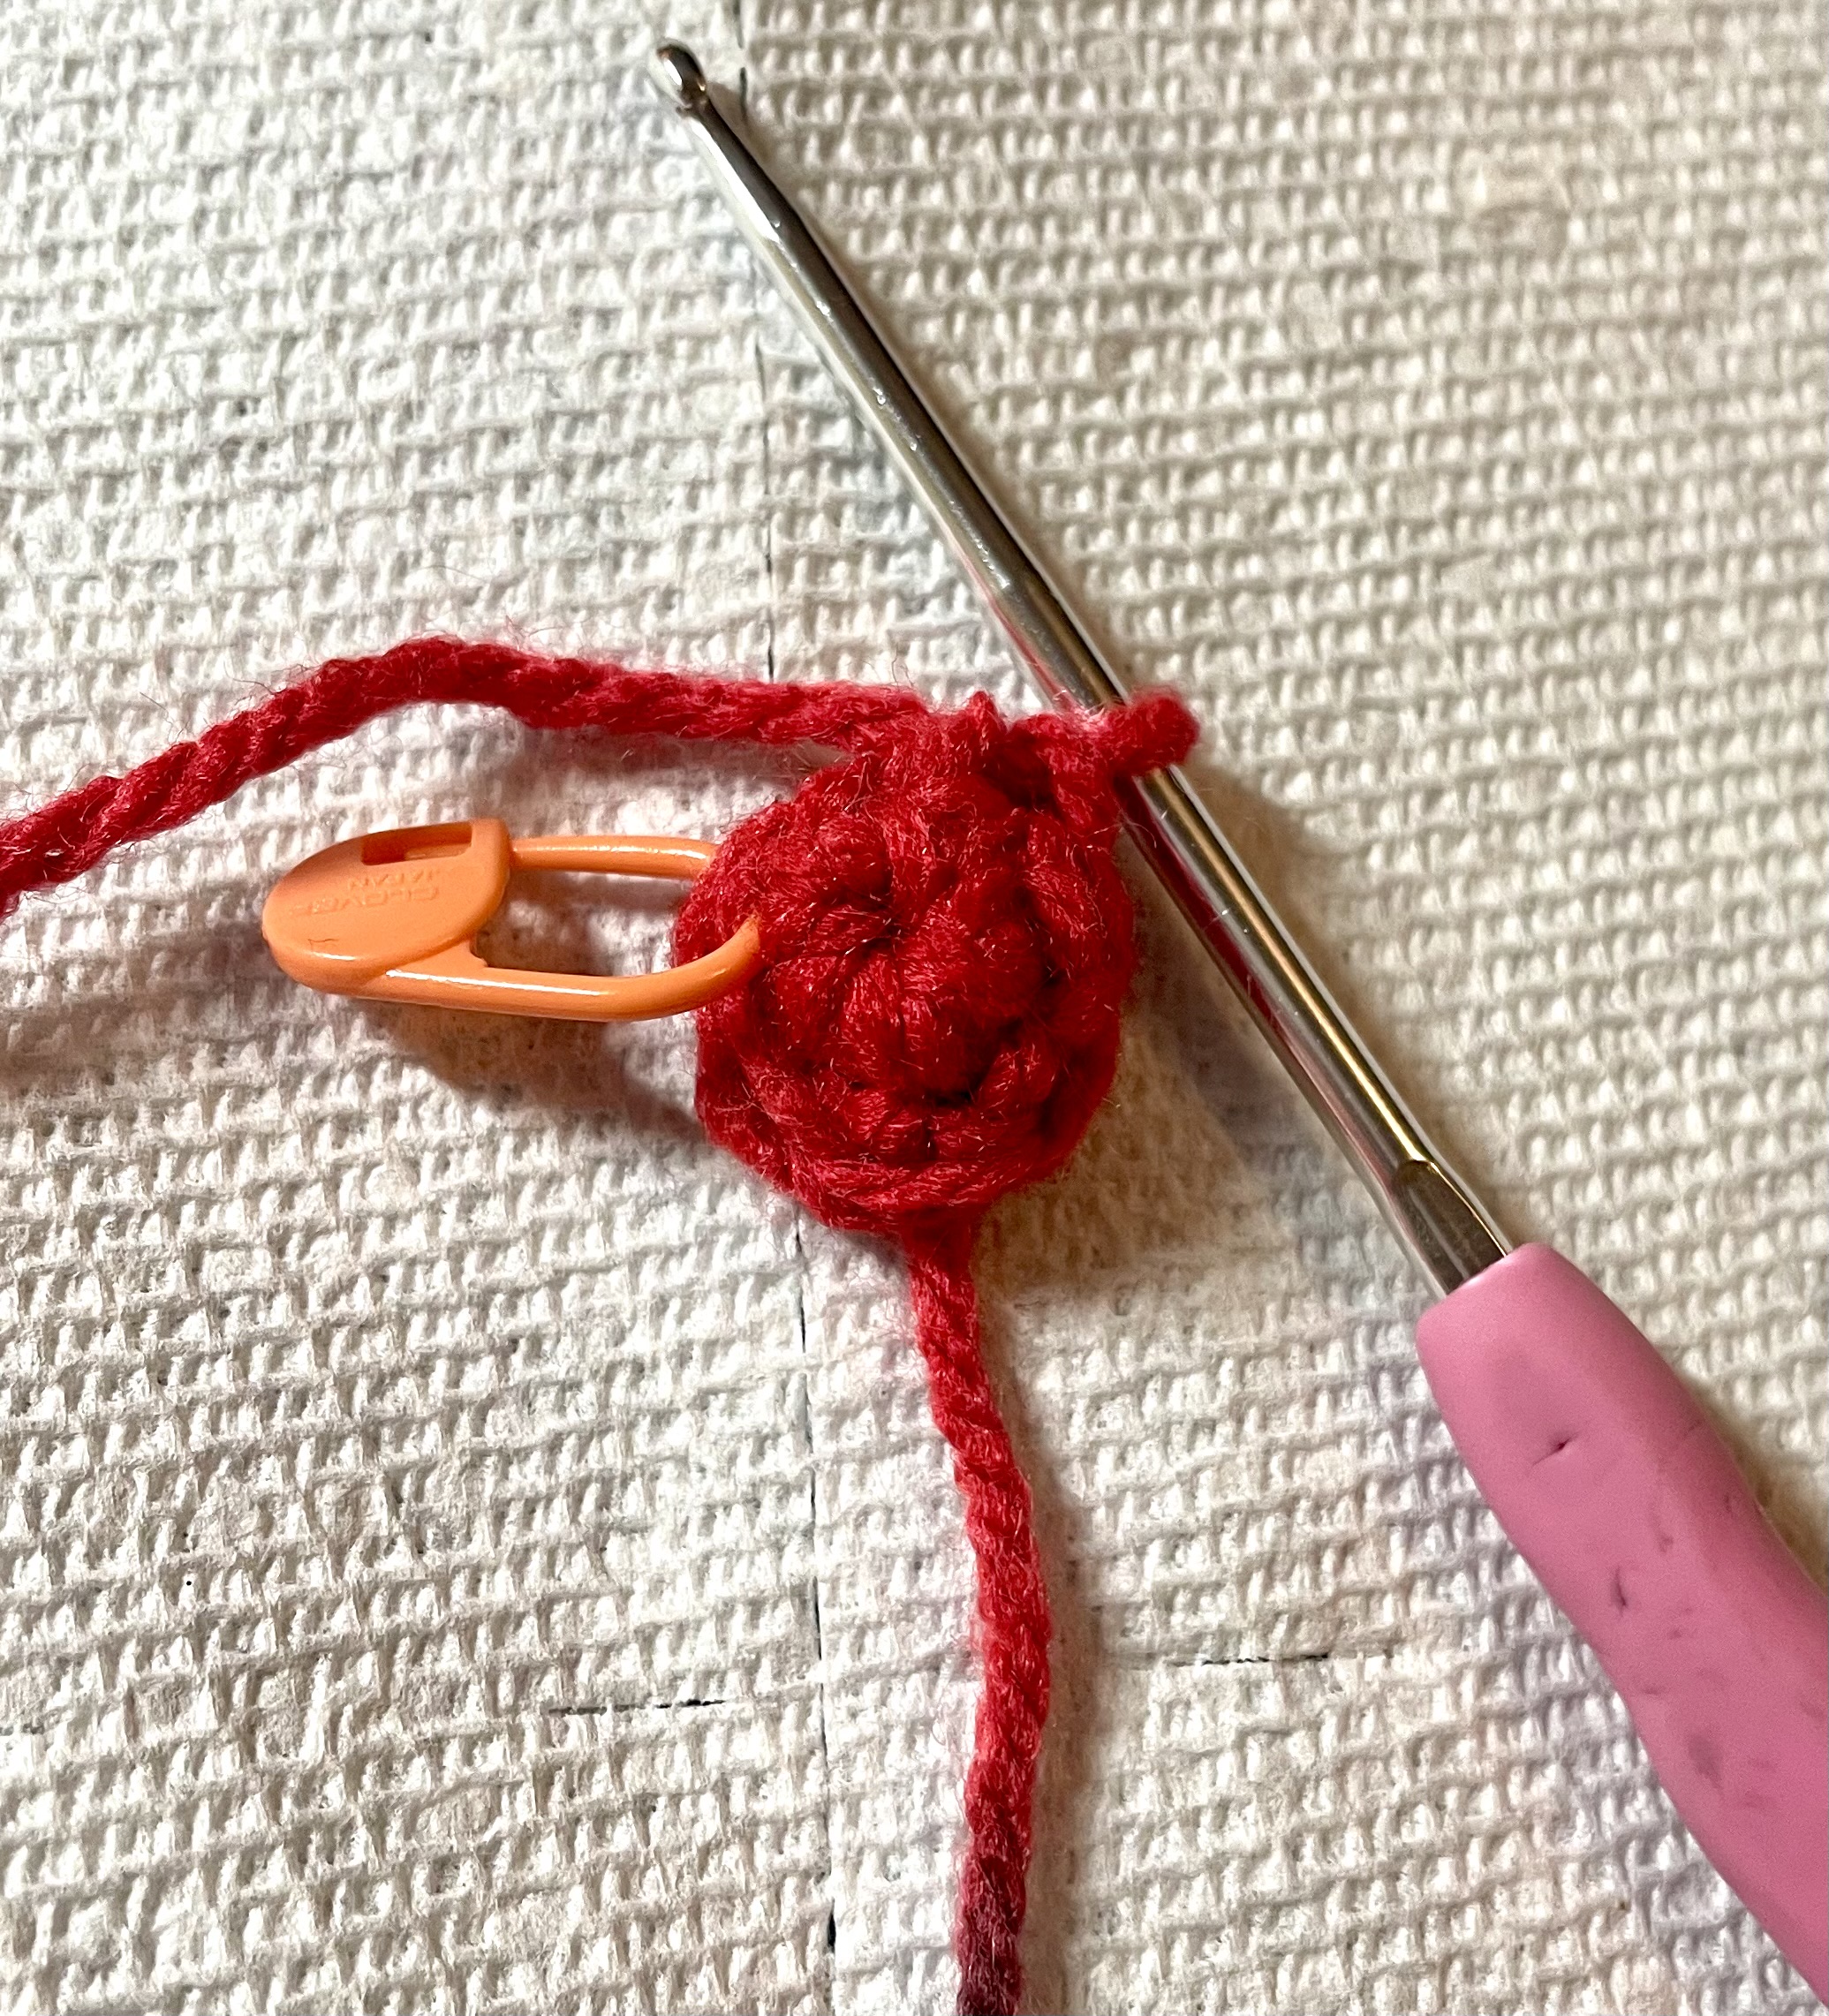
Increase Time
Round 2: inc 6 times (12 stitches)
Next, you’re going to crochet ȧ round without any increases.
Round 3: sc 12 (12 stitches)
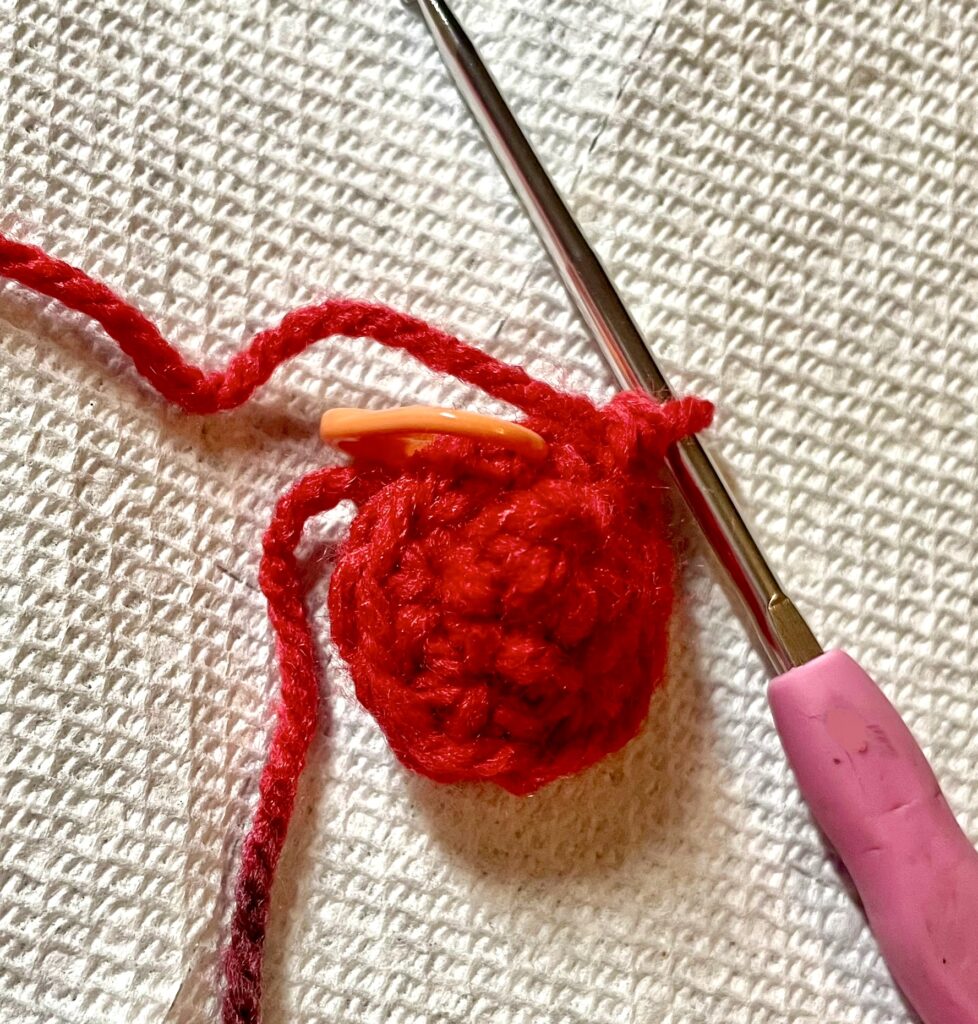
Next up, more increases.
Round 4: *sc 1, inc, repeating from * (18 stitches)
A Pattern: Increase One Round and Then No Increase on the Next
Add another round of single crochets without any increases next. Then, it’s time for the last increase round.
Round 5: sc 18 (18 stitches)
Round 6: *sc 2, inc, repeating from * 6 times (24 stitches)
Last round of the repeat pattern is just straight single crochet
Round 7: sc 24 (24 stitches)
Round 8 – 15: sc around (24 stitches) (8 rounds). When I am counting rounds I always lose track and forget how many rounds I have completed. Counting is hard, y’all! To ensure I stitch the correct number of rounds I use something as simple as my notes app or maybe something like this online counter. There are of course special crochet round/row counters but sometimes simple is the best way to do it. Why make things extra complicated?
Decreases
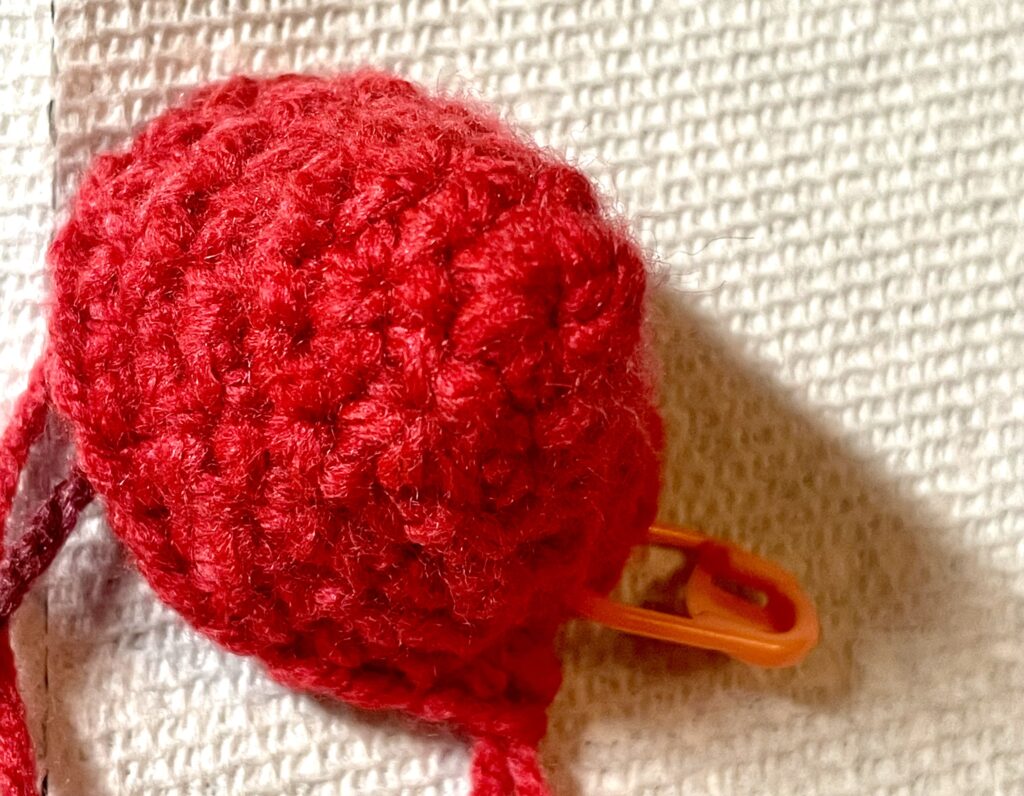
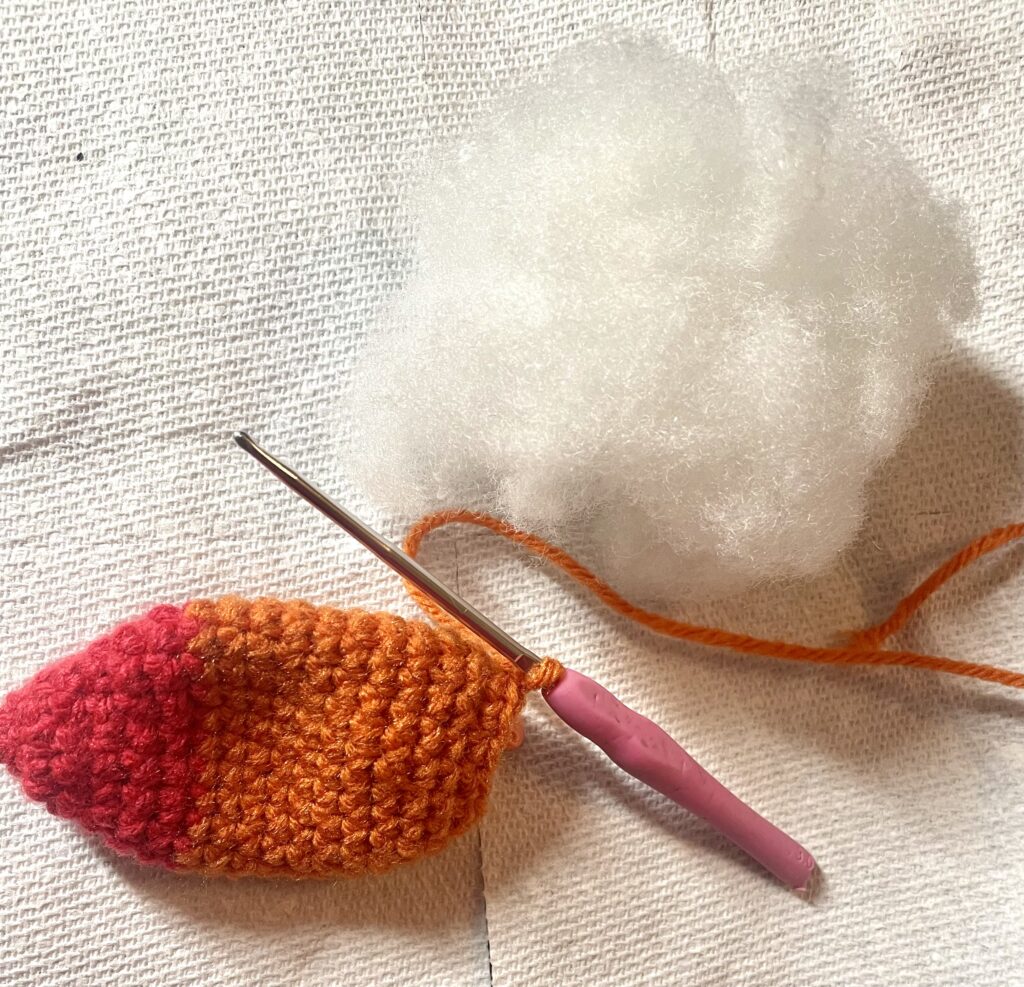
Decrease time. For amigurumi decreases, it’s best to use an invisible decrease. You do this by picking up just the front loop of the next two stitches. Then, with three loops on your hook, single crochet into those loops. The result is a nearly invisible decrease. It looks neater than a more traditional sc2tog to decrease. Your fish should be a football-like shape at this point. There are a few decrease rounds before it’s time to stuff it and seam it up. The tail is made last.
Round 16: *sc 2, dec repeating from * (18 stitches)
This is a good point to turn your work inside out and weave in any ends you might have, especially the end of the magic ring. It’s important to secure the magic ring.
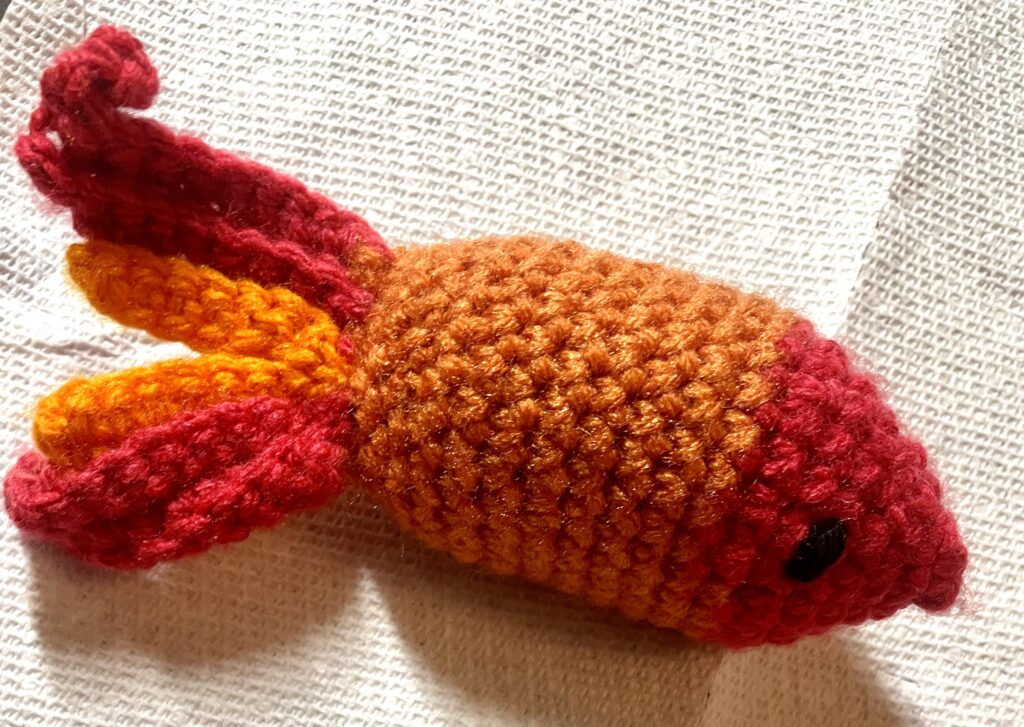
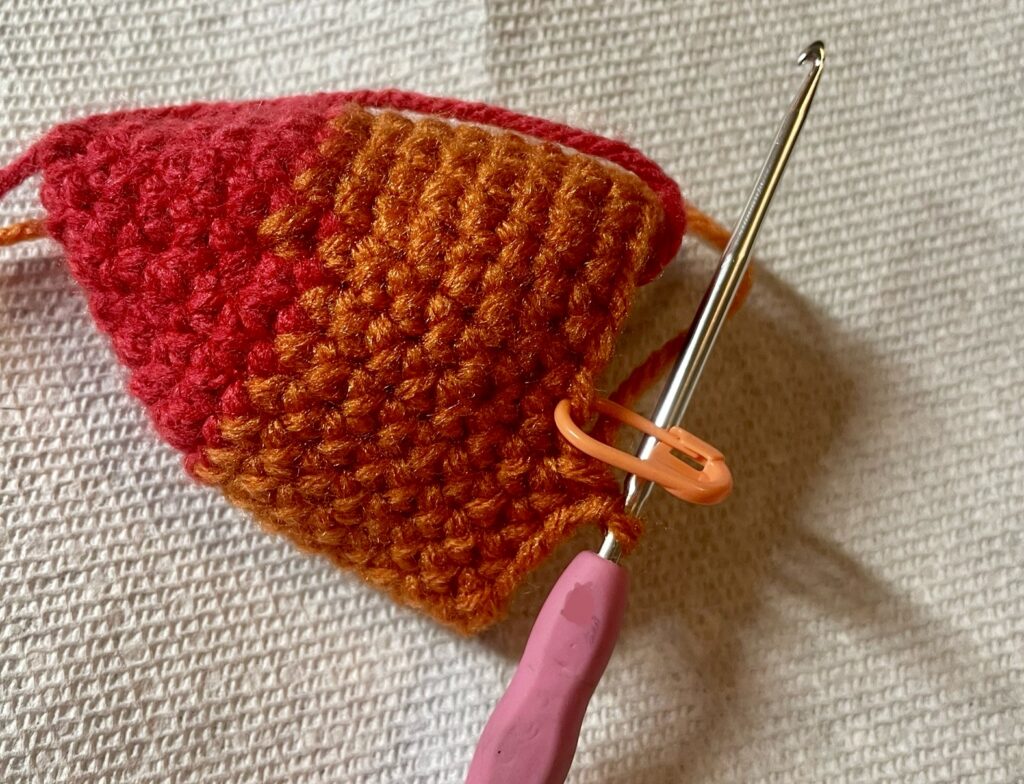
For the goldfish pictured on the left, I also changed colors after the head, so I wove in those ends too. Next we will stuff the goldfish before seamimg it closed. You cannot wait to weave in ends until the end of the project. So do it now!
Round 17: sc around (18 stitches)
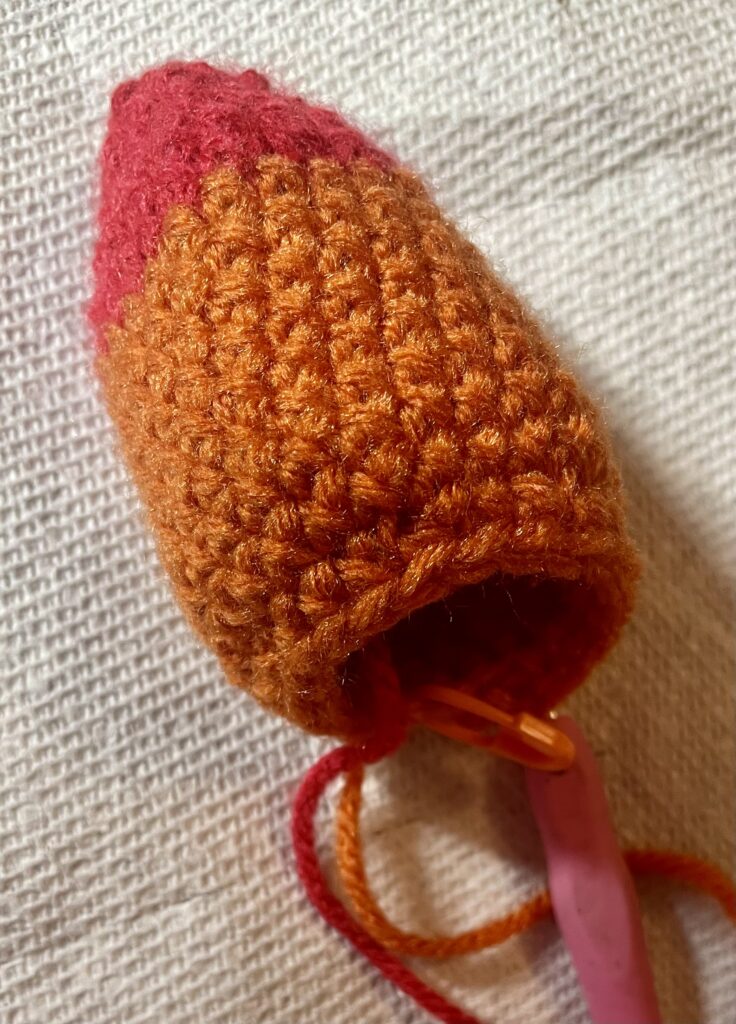
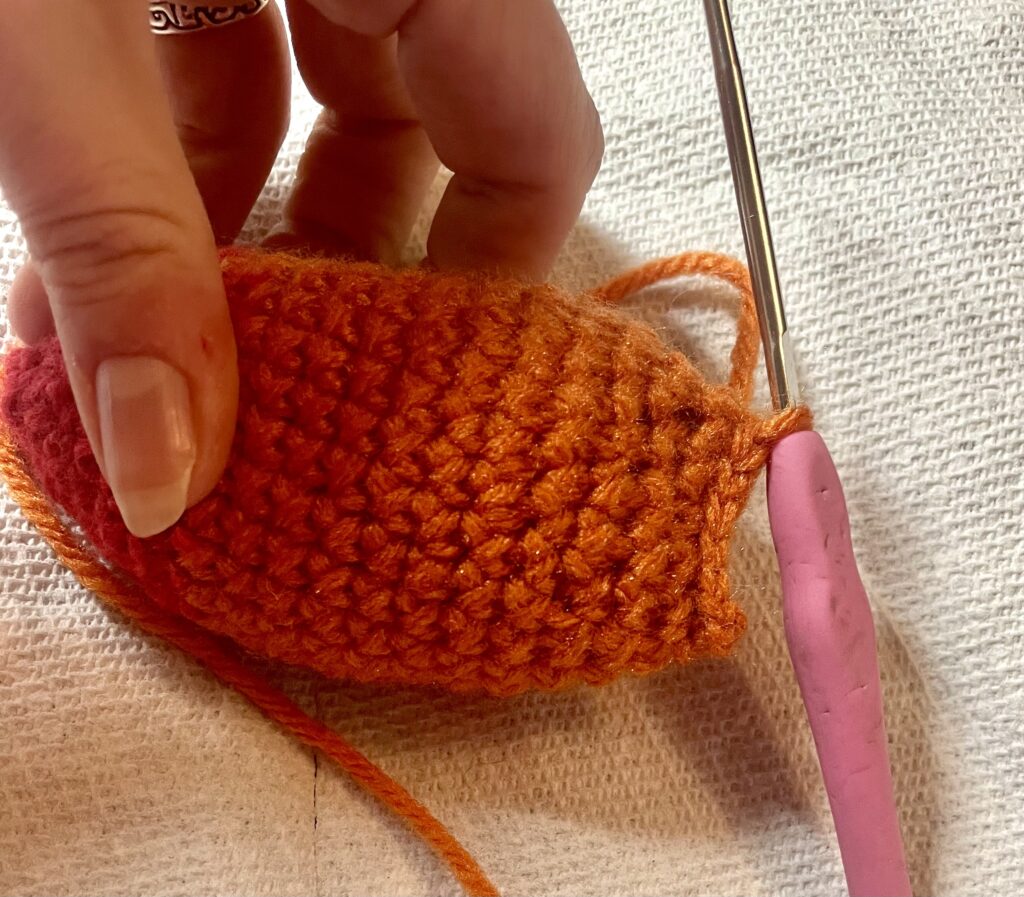
This is a good time to stuff the nose and body of your fish. Stuff it about 3/4ths of the way full for now. We’ll put a bit more once we’ve decreased down to 12 stitches before seaming it.
A Note about Stuffing
When stuffing an amigurumi toy, the general rule of thumb is to overstuff. Your toy will take more polyfill than you think it will need, but even once you think it’s jammed in there really well, you might want to double check.
Why?
Polyfill gets compressed over time, and you’ve worked hard on your toy. You want your stuffed toy to keep its shape. So pack that stuffing in pretty well. Of course, if you like an end product that’s more squishy, by all means put less polyfill. But I personally like how overstuffed toys keep their shape and stand up better over time. So I go all out.
Last Bit of Decreasing
Decrease a littlw more, down to twelve stitches.
Round 18: *sc, dec repeating from * (12 stitches)
Last round before seaming.
Round 19: sc around (12 stitches)
Stuff the fish now to as full as you want it. Remember that once you seam, you can’t put more stuffing in. So this is the last chance to put stuffing.
Fold stitches in half and seam closed with slip stitches. (6 stitches)
Tail of Two Fins
The tail is stitched in two fins, semi-detached from one another, but still no sewing them onto the body of the fish separately. It’s all done at one time.
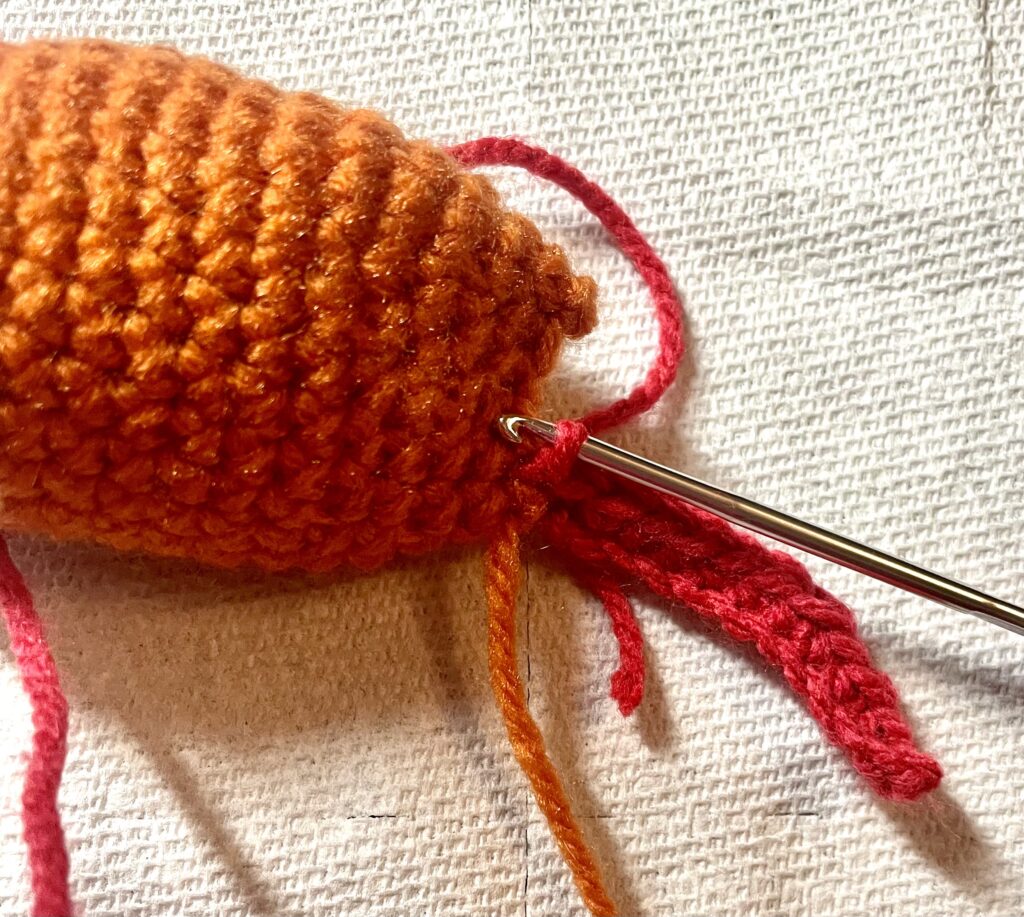
Row 1: With the same yarn from the body of the fish, chain 12. Turn work. You can also change colors here like I did in the picture, but it’s not necessary.
Row 2: Sc into the 2nd stitch from hook. Sc 11 into the back loop only (11 stitches)
Attach tail to fish at the body with slip stitch, turn work.
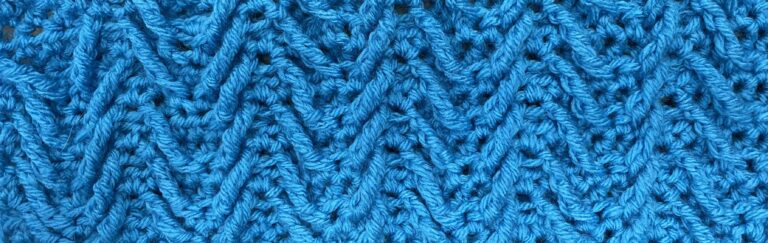
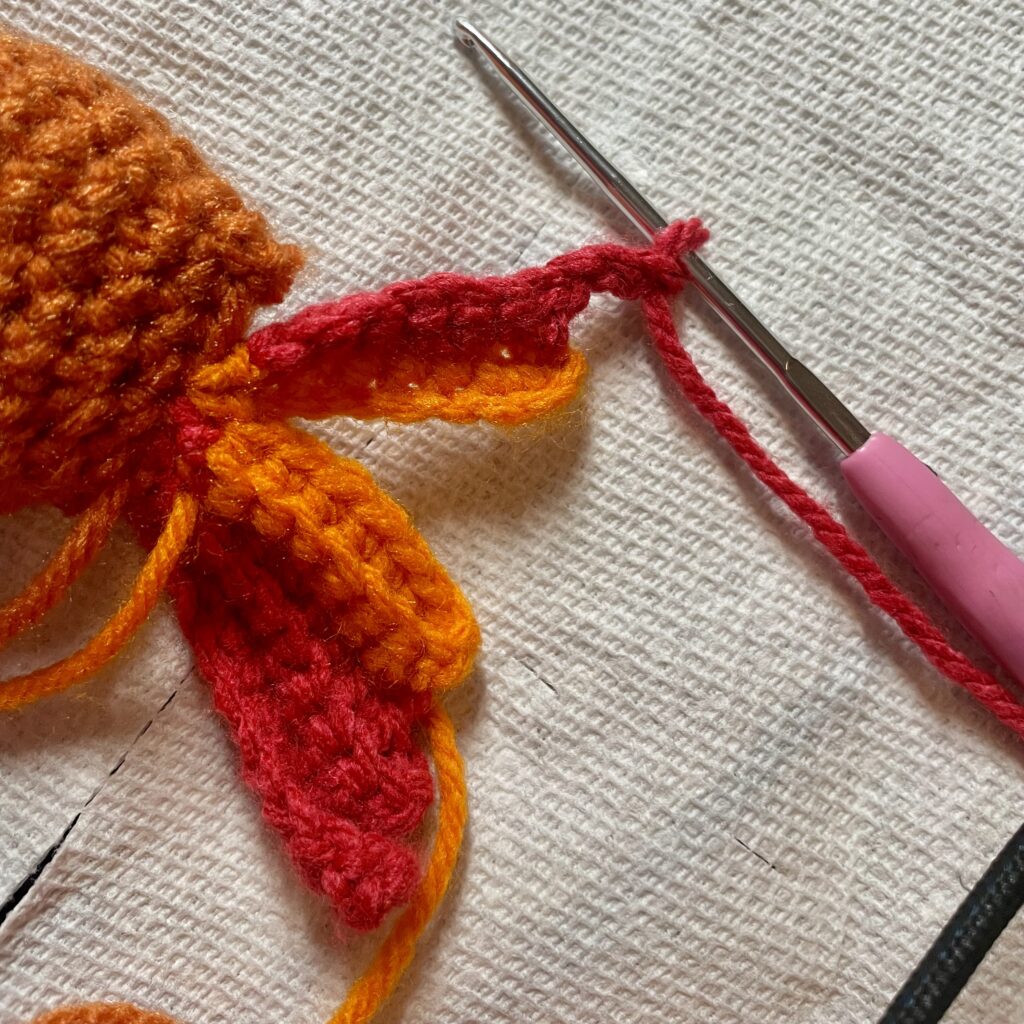
By the way, the tail part is a little fiddly to work with. By far the hardest part of the pattern. But still beginner friendly, I promise. From this point on all the single crochets will be into back loop only to create a ridged looking fin.

Row 3: ch 1, scblo 9, ch 1, turn work
Row 4: ch1, scblo 9. Attach tail at the body with a slip stitch.
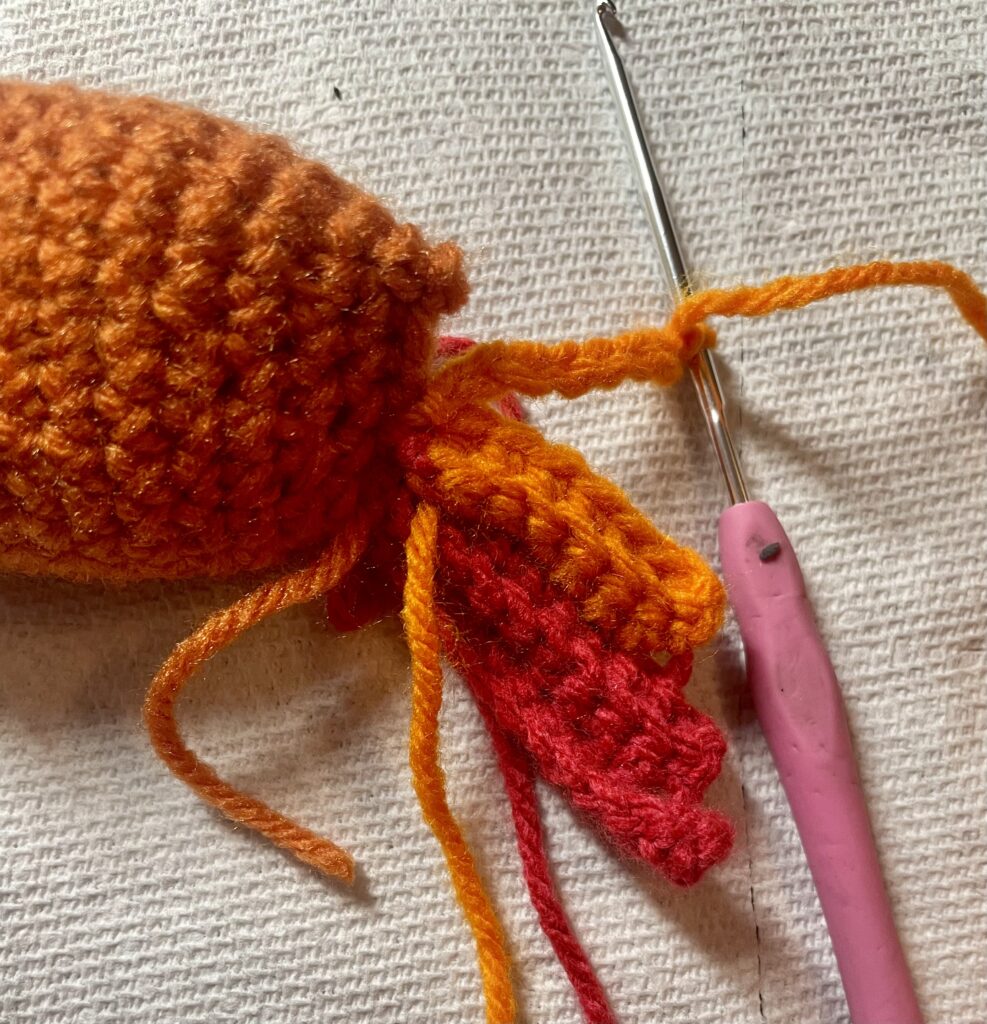
Row 5: ch 1, scblo 7, ch 1, turn work
Row 6: ch 1, scblo 7, attach tail at body with sl st.
2nd fin
The second fin of the goldfish is stitched so it’s detached from the first fin, but still anchored in the same spot so they overlap a bit at the center, making the goldfish look like a pretty fancy goldfish, if I do say so myself.
Row 7: ch 8, turn work
Row 8: scblo 7, attaching the tail at the body in the same spot you anchored the last scblo 7 from the other fin.
Row 9: turn work, ch1, scblo 7, ch 3, turn work
Row 10: scblo 9, attaching tail to the body, turn work
Row 11: ch1, scblo 9, ch 3, turn work
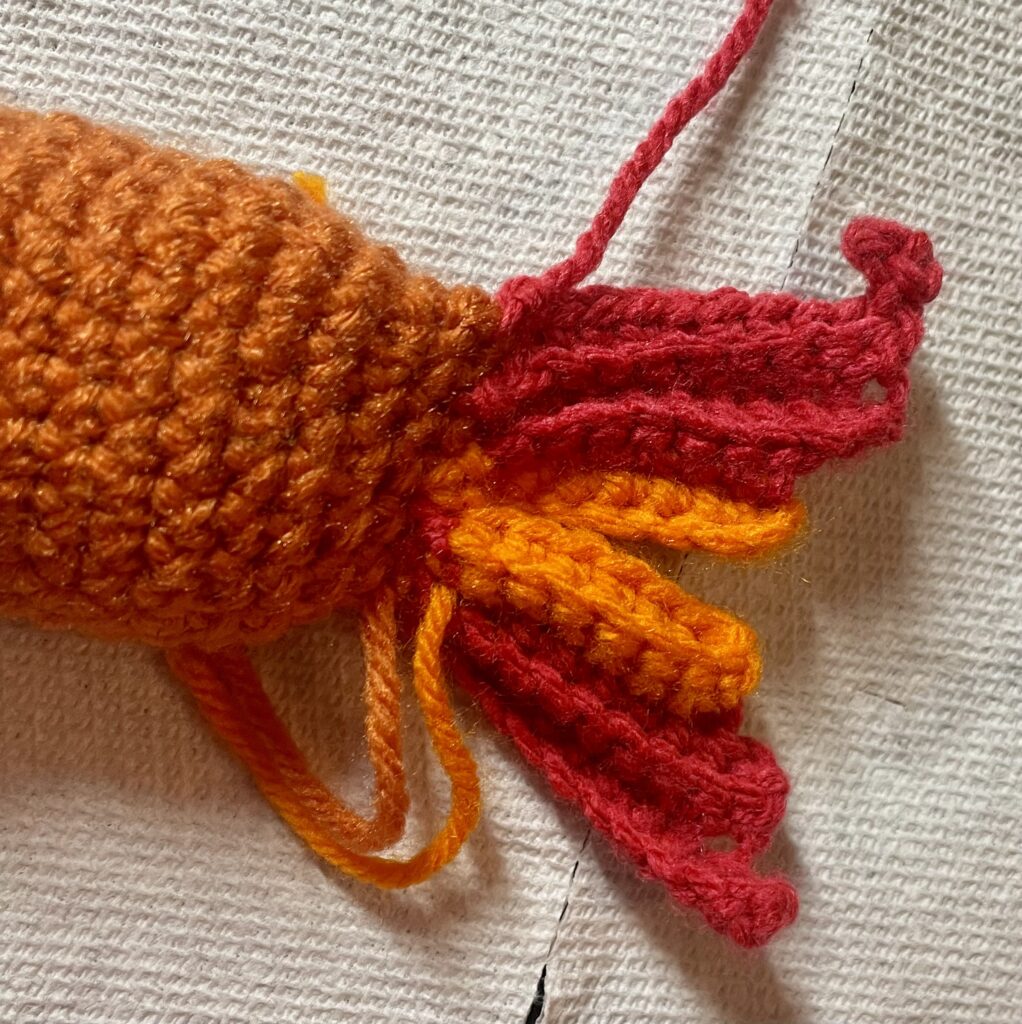
Row 12: scblo into 2nd loop from hook, and 10 more (11 stitches), attaching tail to the body at the last stitch of the seam.
Weave in any ends from the tail.
What Bubbly Eyes You Have

I stitch my eyes on following a tutorial from the Woobles site. It’s really easy so I am not going to make a separate tutorial from theirs. It works really nicely. I don’t like safety eyes because I think they look creepy but you do you. If you wanted to do safety eyes you’d need to attach them before you stuffed the fish.
Et Voilà!
You’re done!