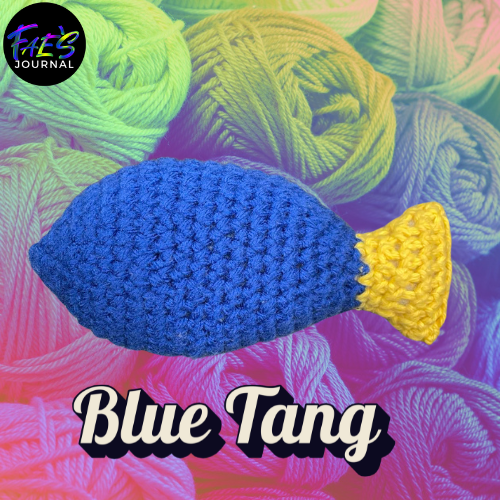
Crochet Fish Pattern – Blue Tang
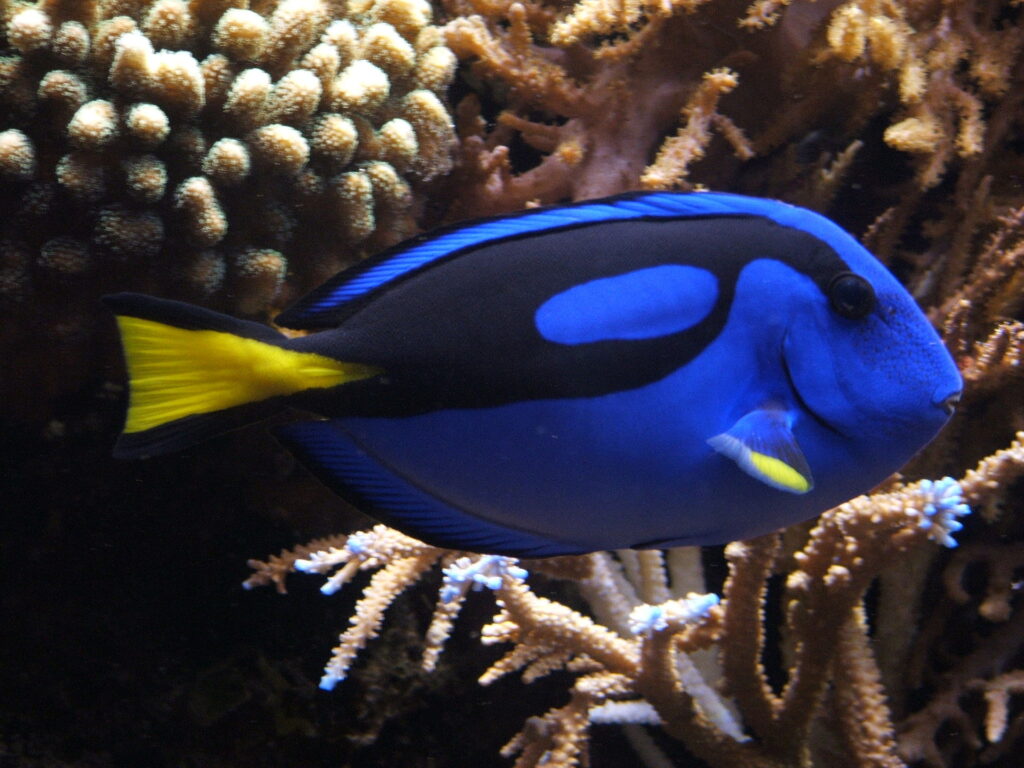
Hey crocheters! Today I am posting a crochet fish pattern I’ve been working on. After crocheting numerous other fish patterns with oval-shaped bodies and flowy tails, I wanted to make a Blue Tang à la Dory from Finding Dory and Finding Nemo.
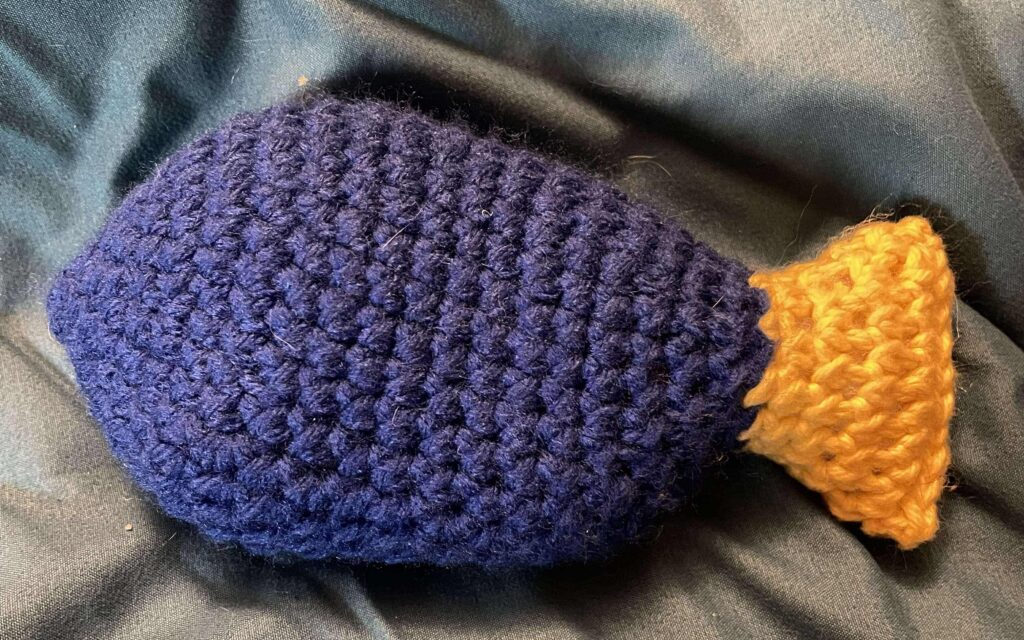
Dory is a Blue Tang
The Blue Tang body shape is taller and skinnier, and the tail is not flowy at all. Since Blue Tang look so different from the other fish I crocheted, I set out to construct the body and tail shape of a Blue Tang. My results turned out so cute!
Abbreviations
sc: single crochet
scblo:
sl st: slip stitch
sts: stitches
pm: place marker
inc: sc twice into next stitch
dec: decrease one by inserting hook into front loop of next two stitches, pull yarn through both loops to complete 1 sc decrease
hdc: half-double crochet
Crochet Fish Pattern
Nose / Head
Using a magic ring, sc 6 into ring. Join with sl st to first stitch. Pull ring closed loosely. You can tighten it up more later and secure it with a tapestry needle
Round 1: pm in first stitch sc 6 (6 stitches)
- I find it helpful to place a marker (pm) in the beginning stitch of the round. It can be discarded later in the pattern
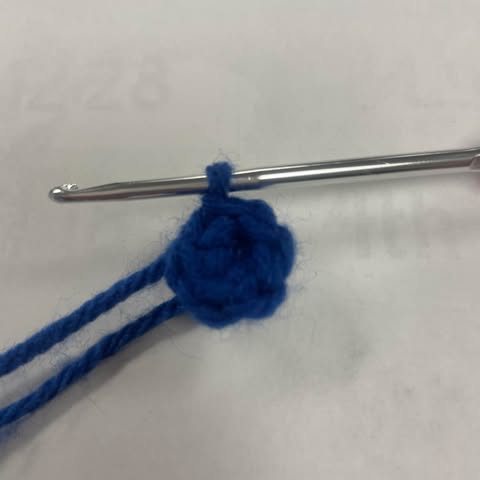
Round 2: inc 6 by sc 2 times into each of the 6 stitches. (12 stitches)
Round 3: 12 sc (12 stitches)
Round 4: inc 12 times (sc 2 into each stitch) (24 stitches)
- At this point your fish will be very circular, that’s okay! We will better establish the shape in a bit!
Round 5: sc into each stitch (24 stitches)
- Pause here to secure the magic ring tail with a tapestry needle.
Round 6: sc 1, inc 1 (2 sc into stitch) (36 stitches)
Crochet Fish Pattern Body
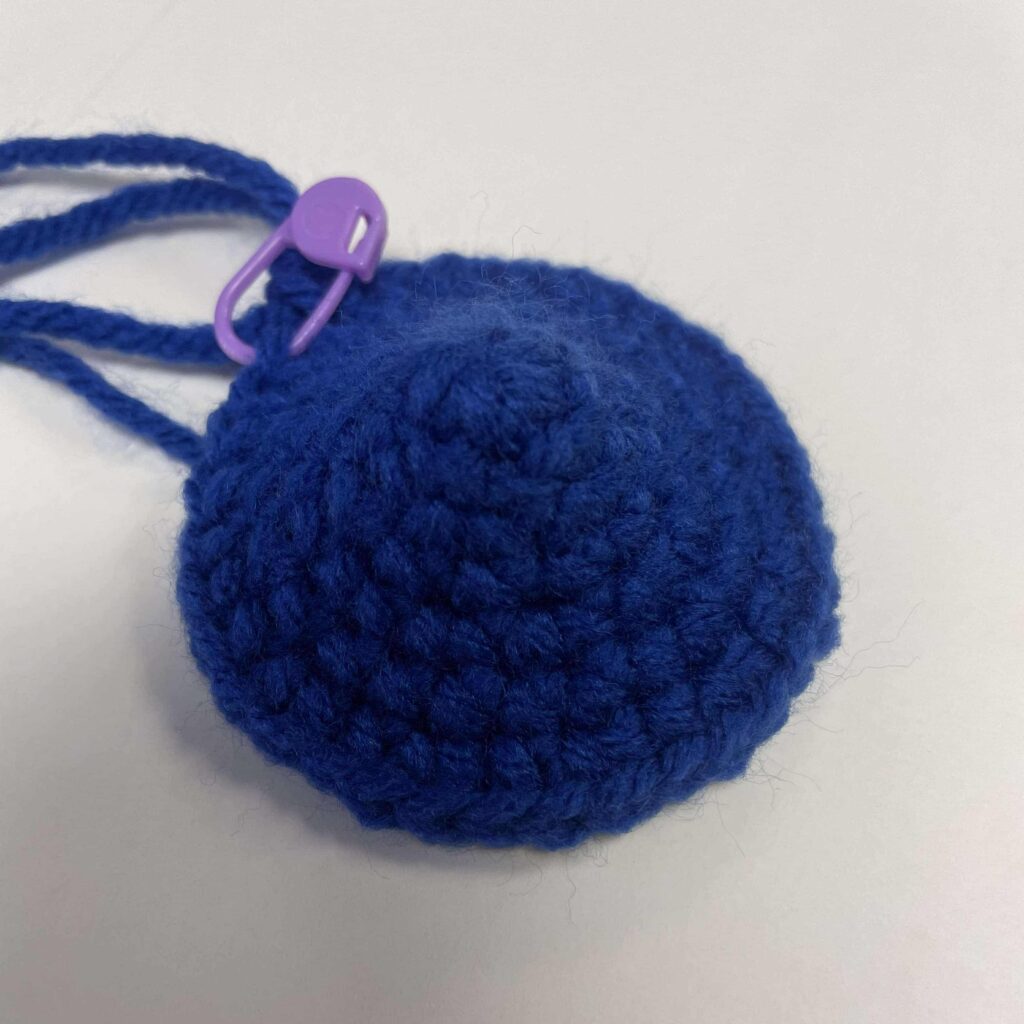
Round 7: sc 8, pm in stitch just worked, hdc 3 (this is the top of your Blue Tang and the start of its dorsal fin), sc 1, pm in stitch just worked (this stitch marker marks the end of the top of your Blue Tang), sc around. (36 stitches)
Start Decreases to Taper Body
Round 8: sc 5, dec 1 (insert hoop through the front loop of the next two stitches and then sc 1), sc1 pm, hdc 3, sc 1 pm, dec 1, sc 9, dec 1, sc 1 pm, sc 3, sc 1 pm (this is the bottom of your fish), dec 1, sc 4 (32 stitches)
- If you find that moving too many stitch markers is bothersome, you can remove the marker that marks the start of the round at this point. We’ll count rows by the stitch markers that mark the top and the bottom of the fish.
Round 9: sc til marker, hdc 3, sc til 2 stitches before marker, dec 1, sc pm, sc 3, sc pm, dec 1, sc around (30 stitches)
Round 10-12: sc to marker, sc 1 pm, hdc 3, sc 1 pm, sc around replacing markers as you make the stitches. (30 stitches)
Round 13: sc to marker, sc 1 pm, hdc, sc 1 pm, sc to two stitches before marker, dec 1, sc pm, sc 3, sc pm, dec 1, sc around (28 stitches)
Round 14-16: sc to marker, sc 1 pm, hdc 3, sc 1 pm, sc around replacing markers as you make the stitches. (28 stitches)
Round 17: sc to two stitches before marker, dec 1, sc 1 pm, hdc 3, sc 1 pm, dec 1, sc to two stitches before marker, dec 1, sc 1 pm, sc3, sc 1 pm, dec 1, sc around (24 stitches)
Round 18: sc around to marker, sc pm, hdc 3, sc 1 pm, sc around (24 stitches)
Stuff the Fish
- Pause here to stuff the body of the fish, shaping it so that it’s the shape you want. We are starting to decrease here toward the tail so you don’t have stuff it fully yet but it’s easier to manipulate the stuffing to look the way you want when the opening is larger. Tip: More stuffing makes a sturdier finished product.
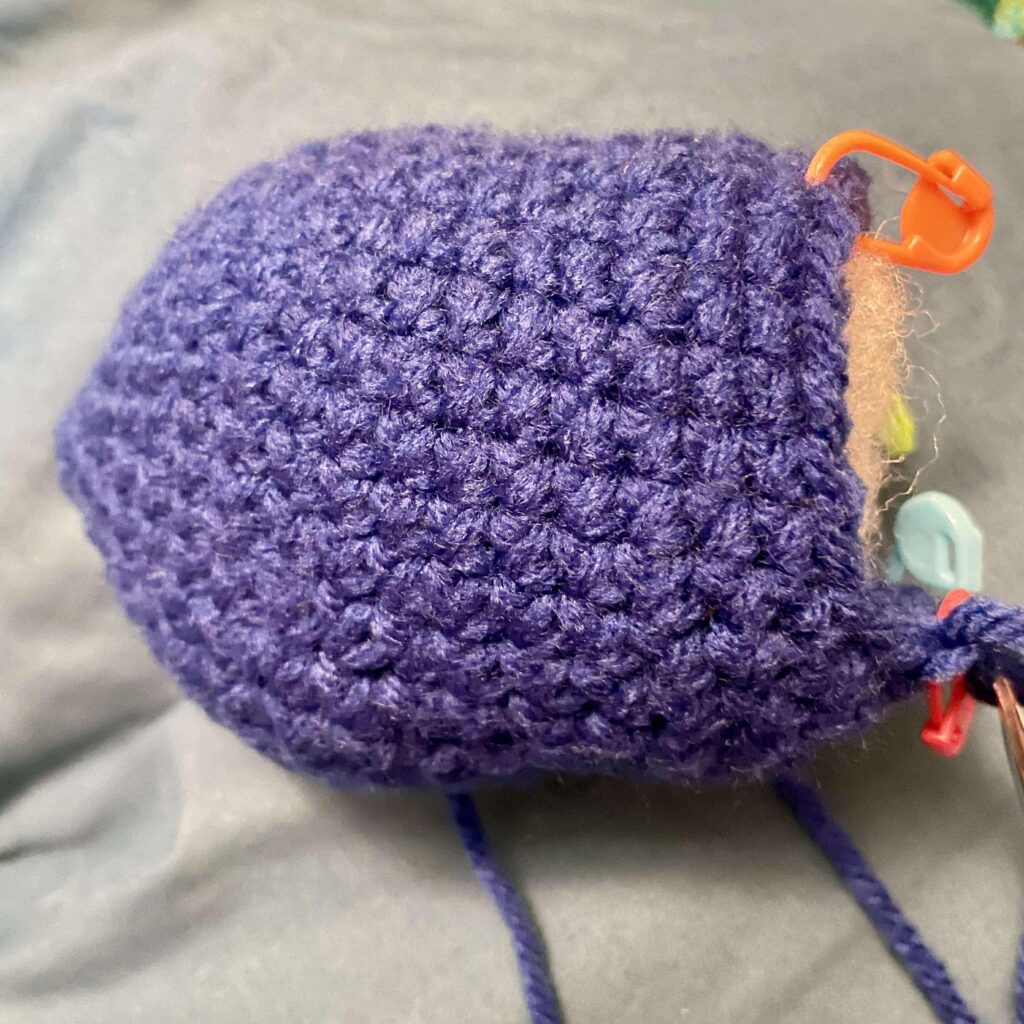
Round 19: sc to two stitches before marker, dec 1, sc 1 pm, hdc 3, sc 1 pm, dec 1, sc to four stitches before marker, dec 2, sc 1 pm, sc 3, sc1 pm, dec 1, sc around (20 stitches)
Round 20: sc around to marker, sc pm, hdc 3, sc 1 pm, sc around replacing markers as you make the stitches. (20 stitches)
Round 21: sc to two stitches before marker, dec 1, sc1 pm, hdc 3, sc 1 pm, dec 1, sc to two stitches before marker, dec 1, sc 1 pm, sc 3, sc 1 pm, dec 1, sc around. (16 stitches)
Round 22: sc to two stitches before marker, dec 1, sc5 pm, dec 2, pm, sc 3, dec 1, sc around. (12 stitches)
Round 23: switch to yellow yarn for tail. dec 1, sc1 pm, sc3, sc 1 pm, dec 1, sc to two stitches before marker, dec 1, sc 1 pm, sc 3, sc 1 pm, dec 1, sc around. (10 stitches)
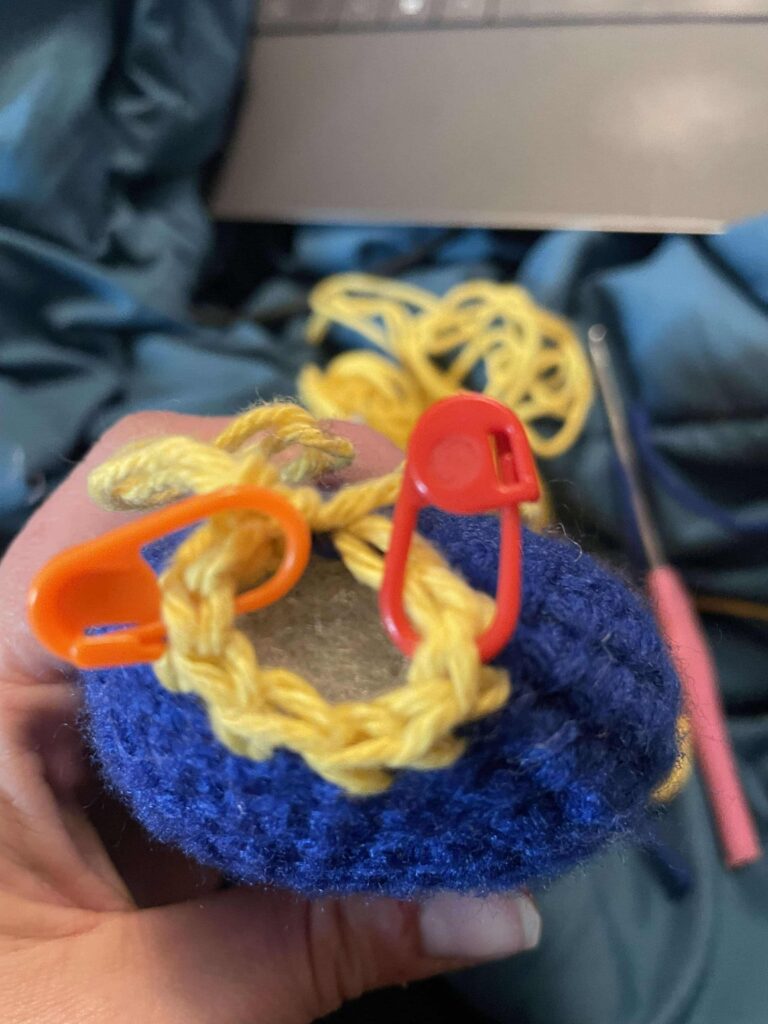
Tail Construction
Stuff the fish with more polyfill, since we’re about to make the tail. To start, move your stitch markers so they mark the center stitch on either side of the stitches. This marks the top and the bottom of the tail. and it is where we will make increases to form the tail’s triangle shape.
Round 24: sc around (10 stitches)
Round 25: sc to one stitch before marker, inc 1, sc pm, inc 1, sc to one stitch before marker, inc 1, sc 1 pm, inc 1, sc around (14 stitches)
Round 26: sc to one stitch before marker, inc 1, sc pm, inc 1, sc to one stitch before marker, inc 1, sc 1 pm, inc 1, sc around (18 stitches)
Stuff tail completely. Stitch closed with slip stitch across.
Round 27: sc to one stitch before marker, inc 1, sc pm, inc 1, sc to one stitch before marker, inc 1, sc 1 pm, inc 1, sc around (22 stitches)
Et voilà! Bravo! What a CUTE Crochet Fish!
With a tapestry needle, weave in any ends and stitch eyes (if desired).
Your crochet fish pattern should look something like this:

I post crochet patterns and crochet techniques on my blog.

